Primitive and
Low Tech
Shelters
Back
to the Pine Home
Shelters are Number 2 in the Hoods Woods Rule of Threes
(You can survive 3 seconds without air, 3 hours without
shelter, 3 days without water, 3 weeks without food)
From that rule, you can see how big a priority shelter is in
a survival situation. That should also tell you that
proficiency in shelter building is a MUST.
Below are a few examples of field expedient shelters. Some
of the Pictures are mine, And some are another persons work.
In those instances I have credited them. Im not sure where the
black and white line drawings I used came from(A Military FM I
believe) and I don't think they are copyrighted. If you see
something you recognize or that you created, feel free to drop
me a line at ridgerunner@woodlandsurvival.com
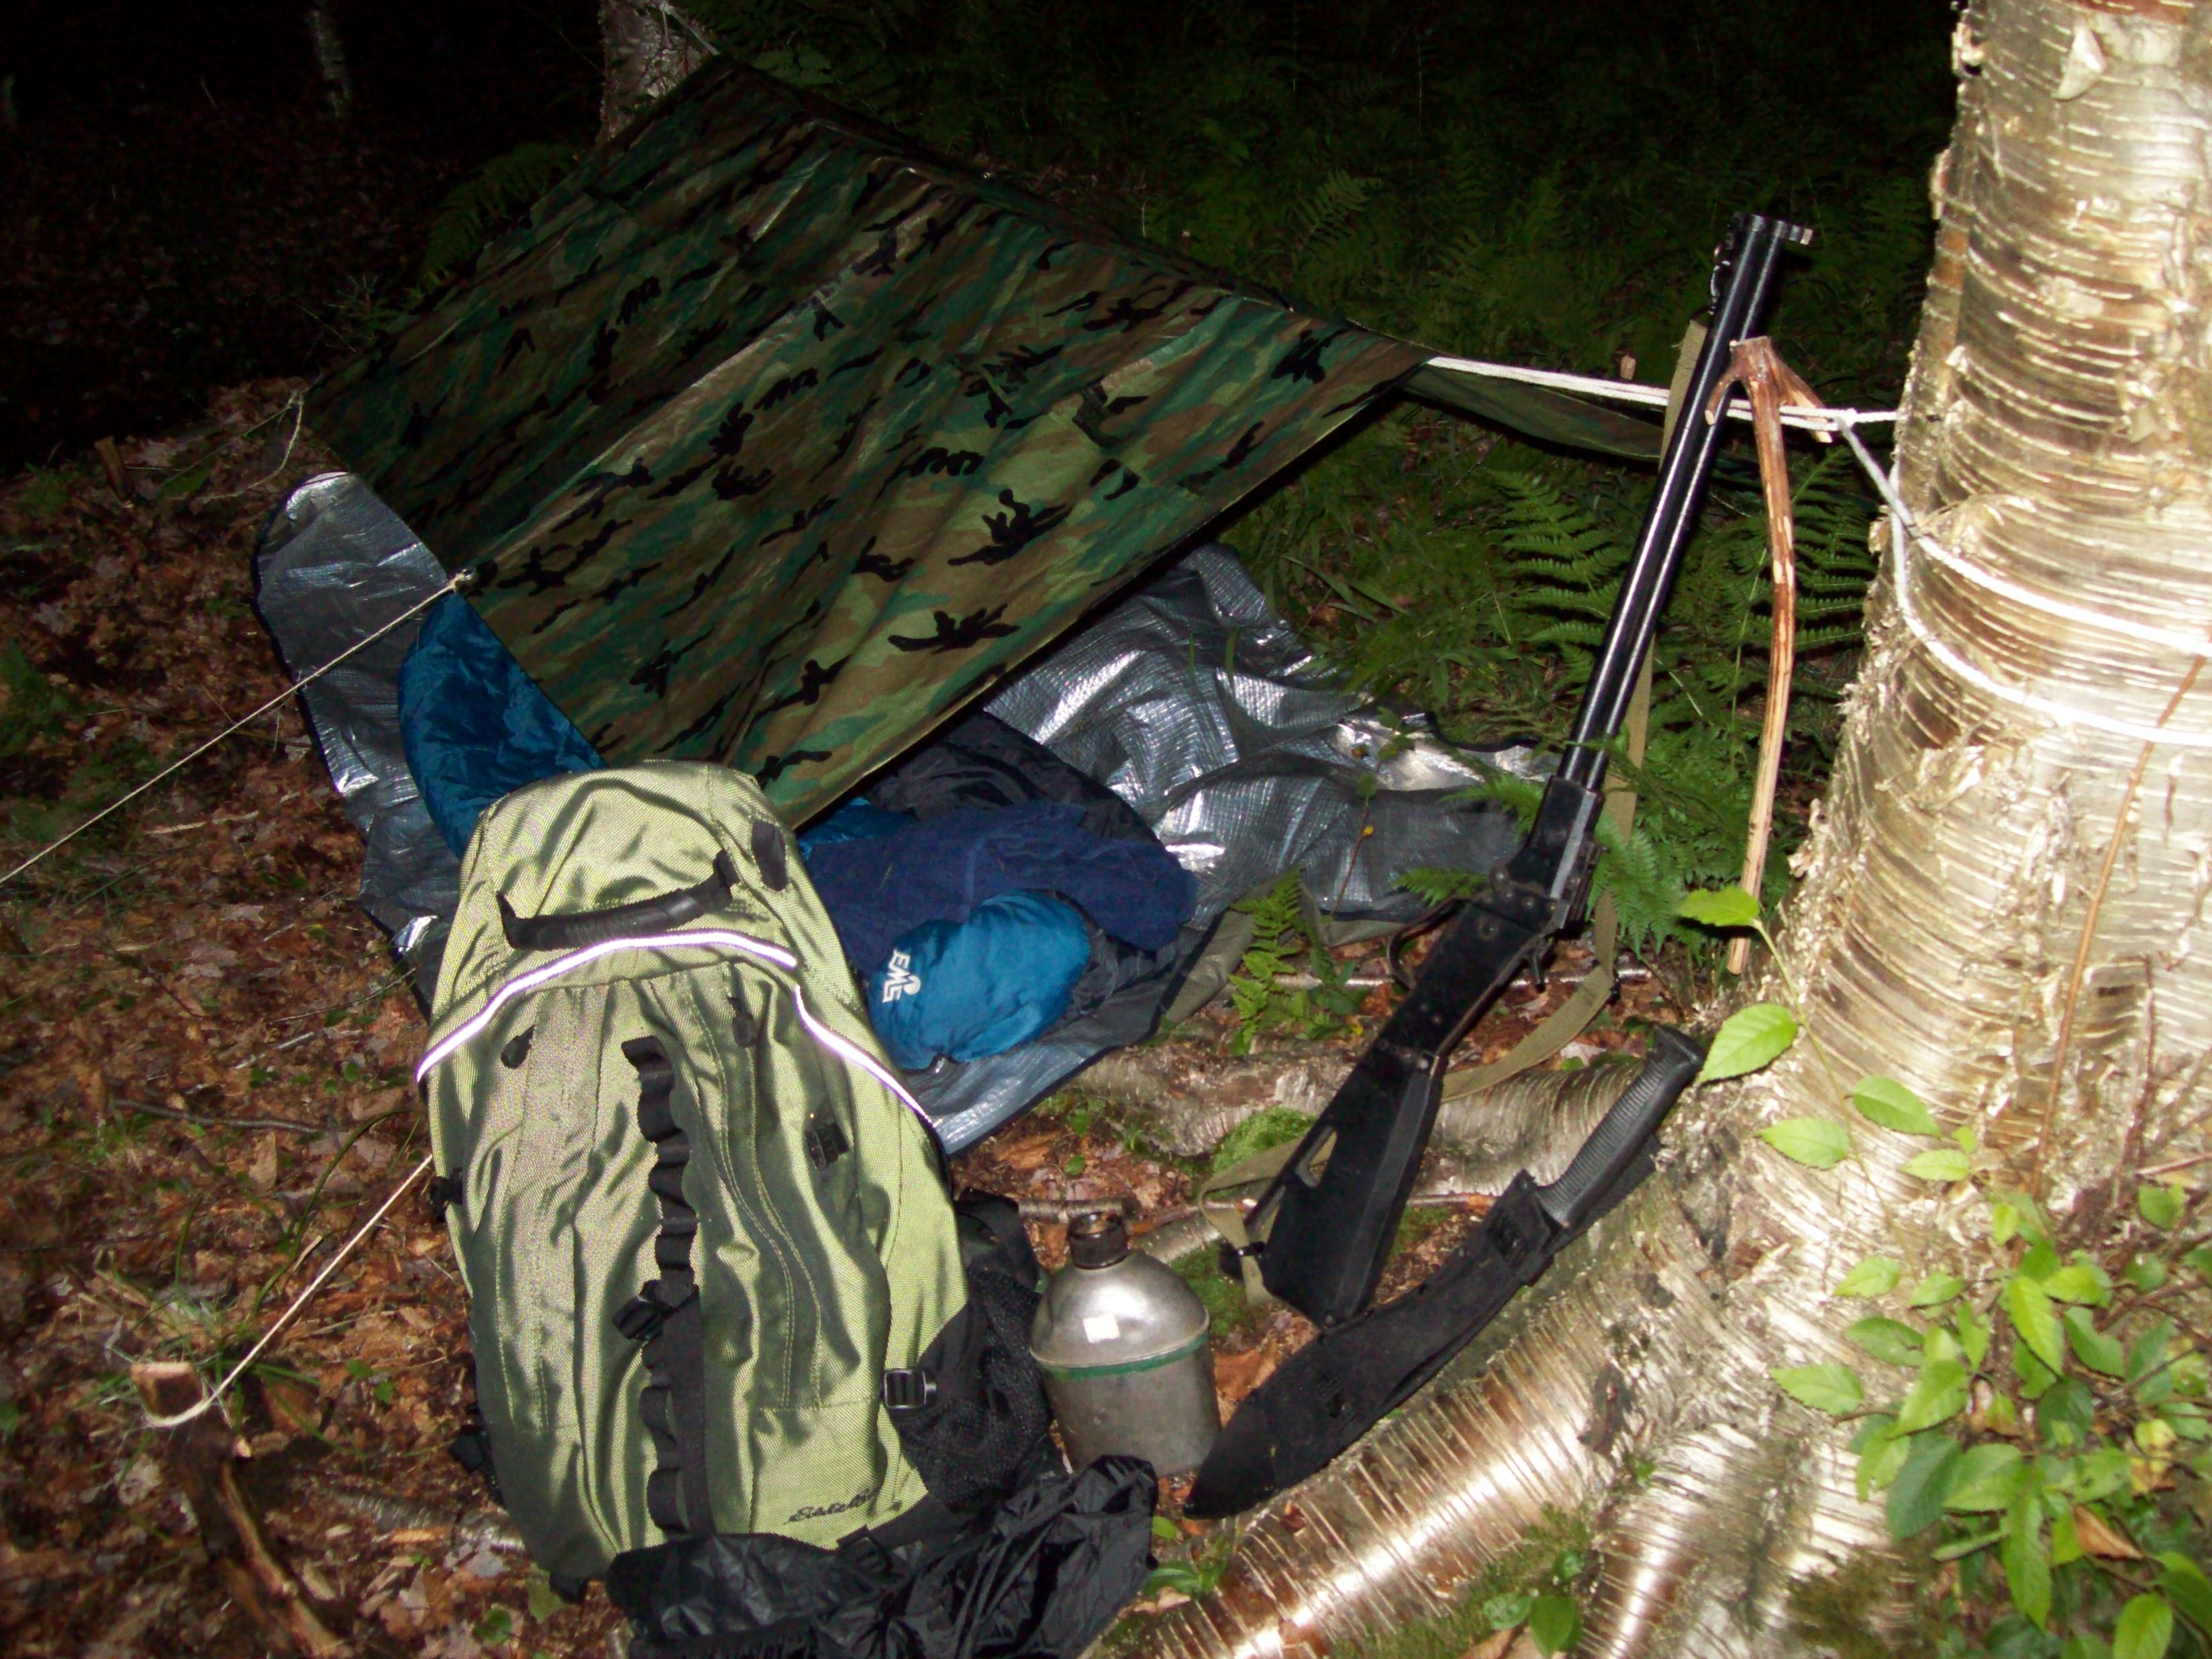
Figure 1, Lean-to
This design is by far one of the most familiar
and easiest to build temporary shelter.
This is a shelter I built a while back, it fits
me, my gear and lots of insulation, not much else. its a good
sleeping place and is very warm.
You can build this shelter with or without
a tarp and if built right will keep the rain out quite well
Build it double sided to make a tent like
structure that will keep out the wind and rain quite nicely.
See below:
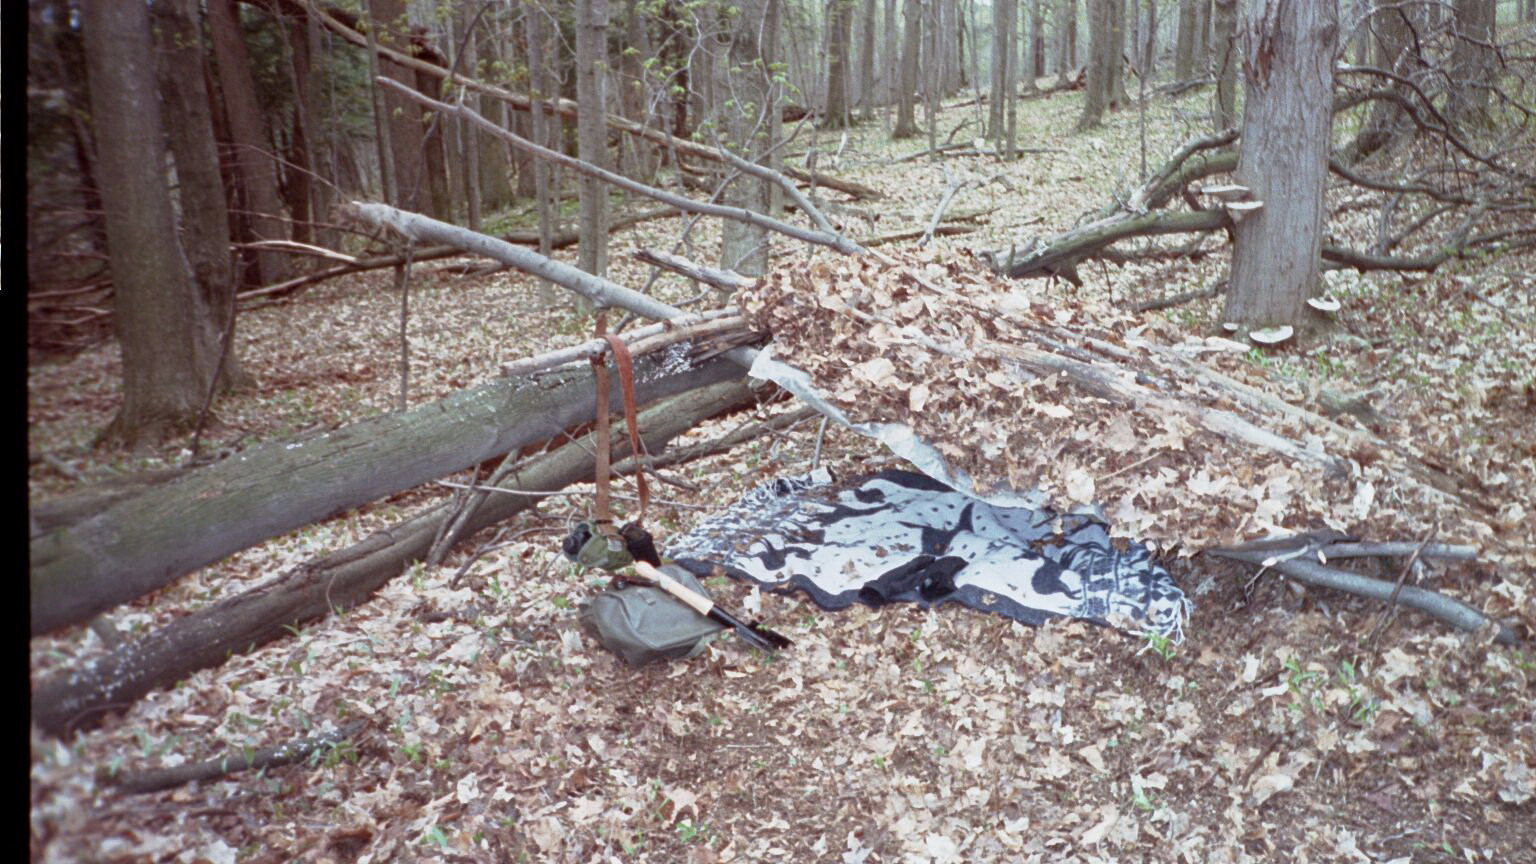
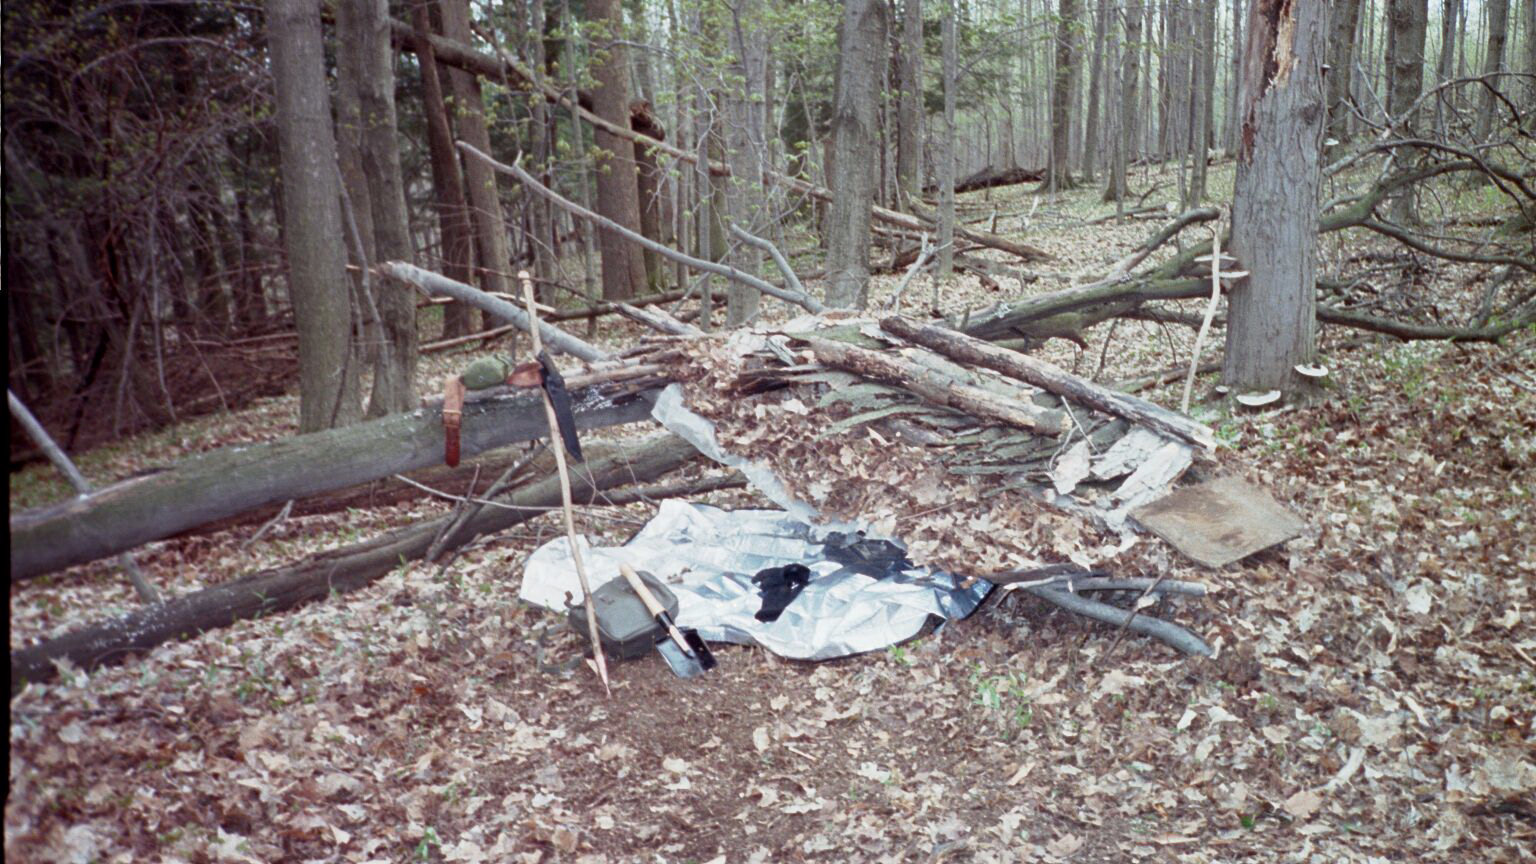
This is one variation on the Leant called the
debris hut. THis is a snug and cozy little hooch that
keeps you very warm. this design is particularly
neat because it utilizes the ridge pole to hang out your
tucker to cook. This design can be changed by using short side
polls and leaning them against the ridge pole (human made
,large Log or rock) and laying the debris on top. (see below)

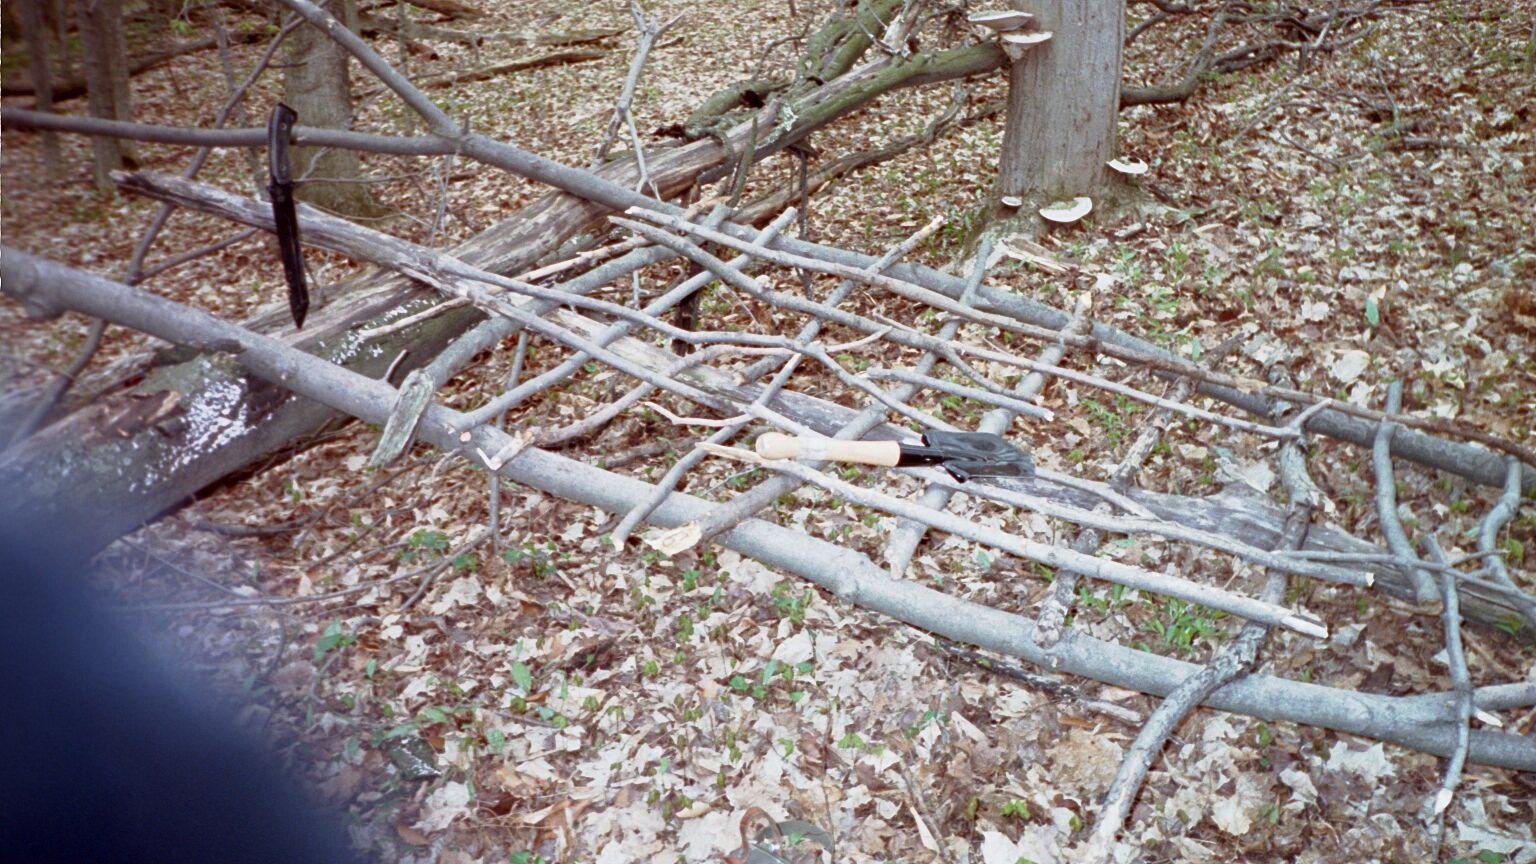
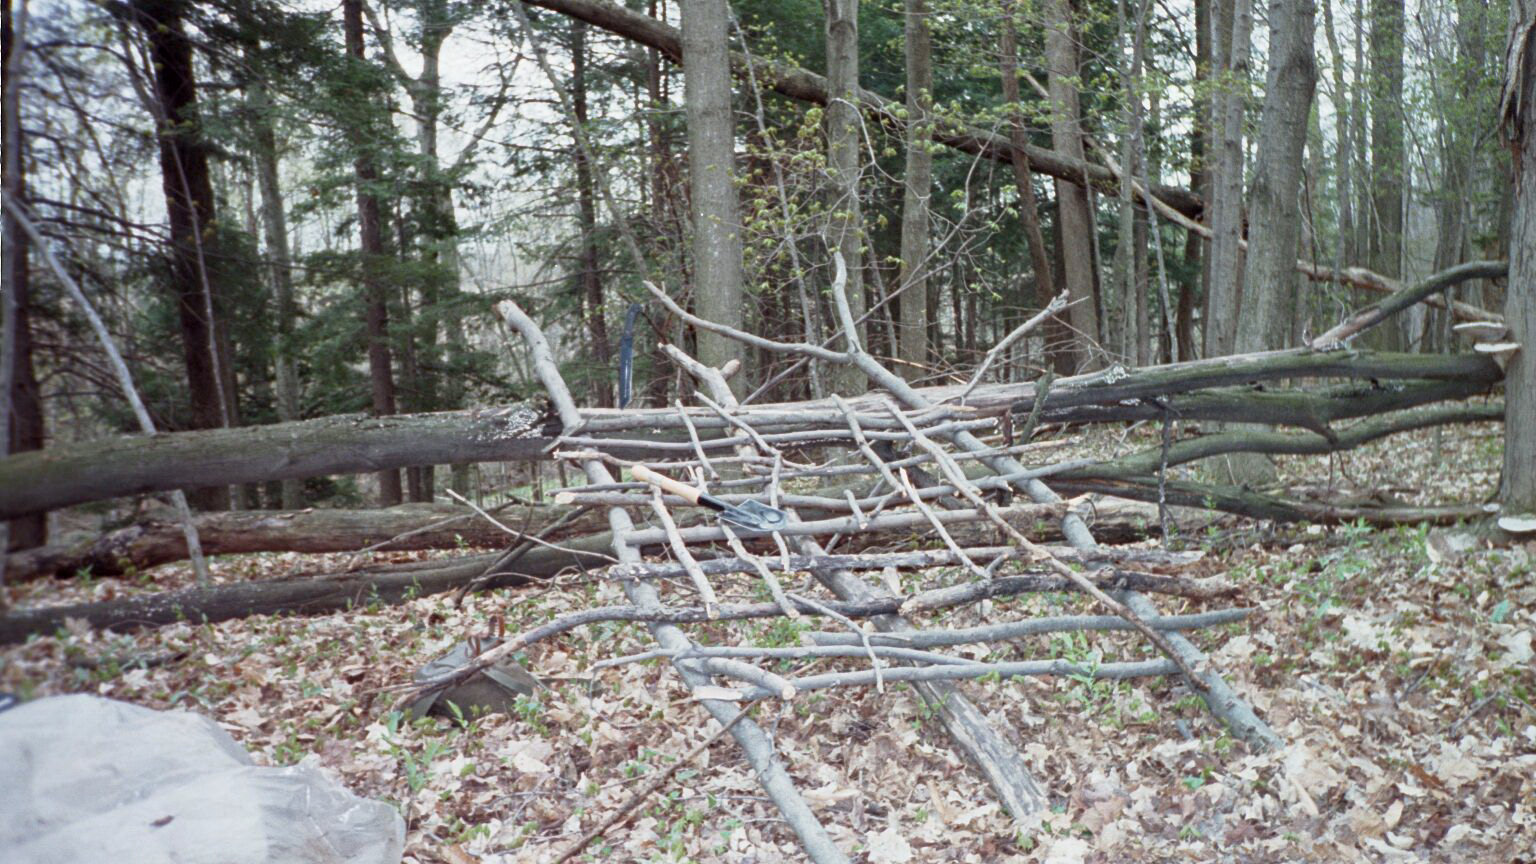
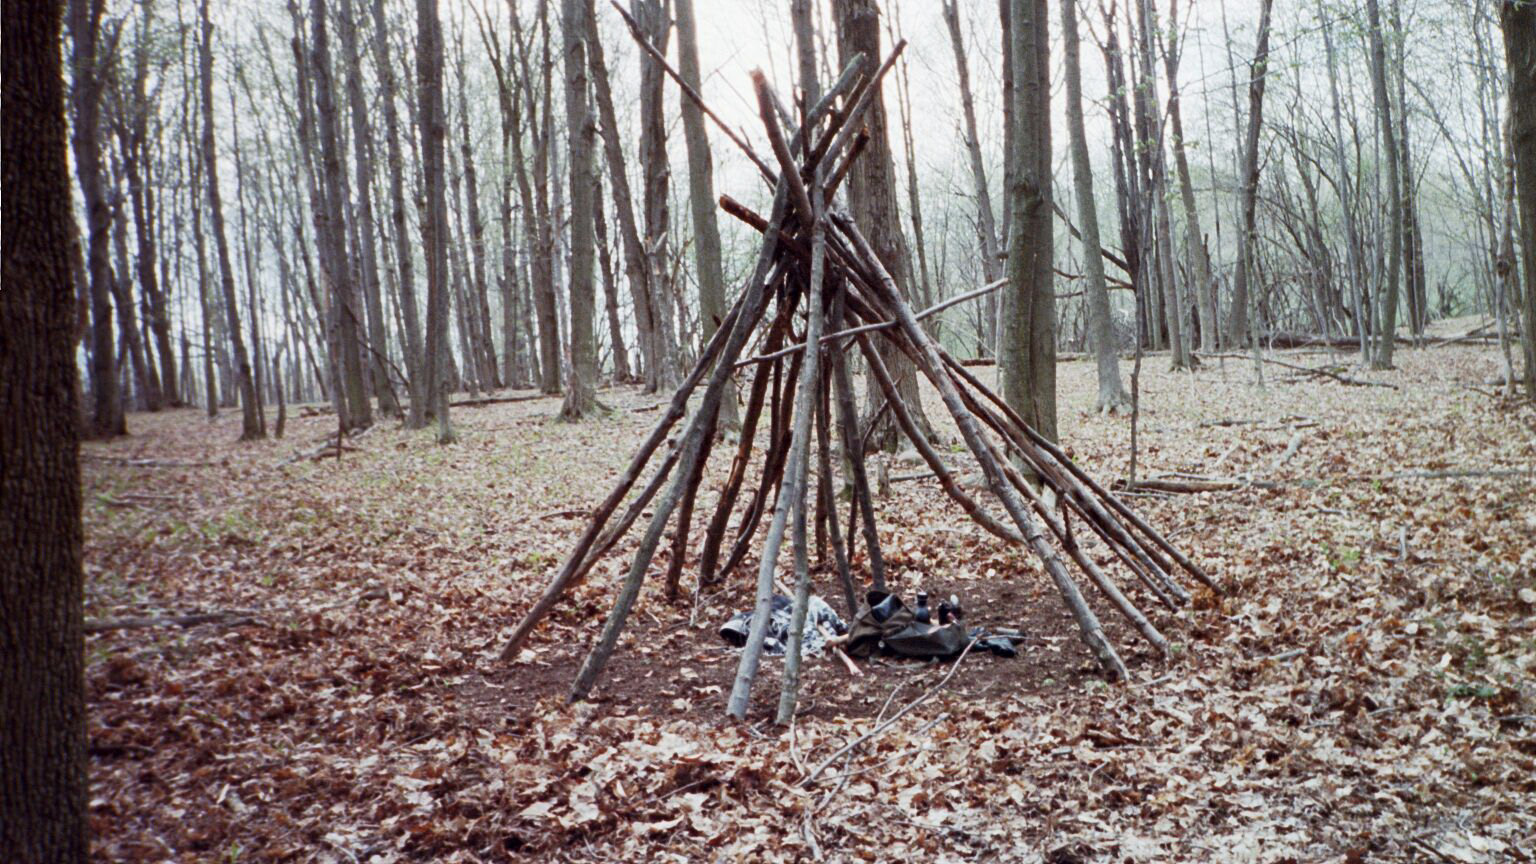
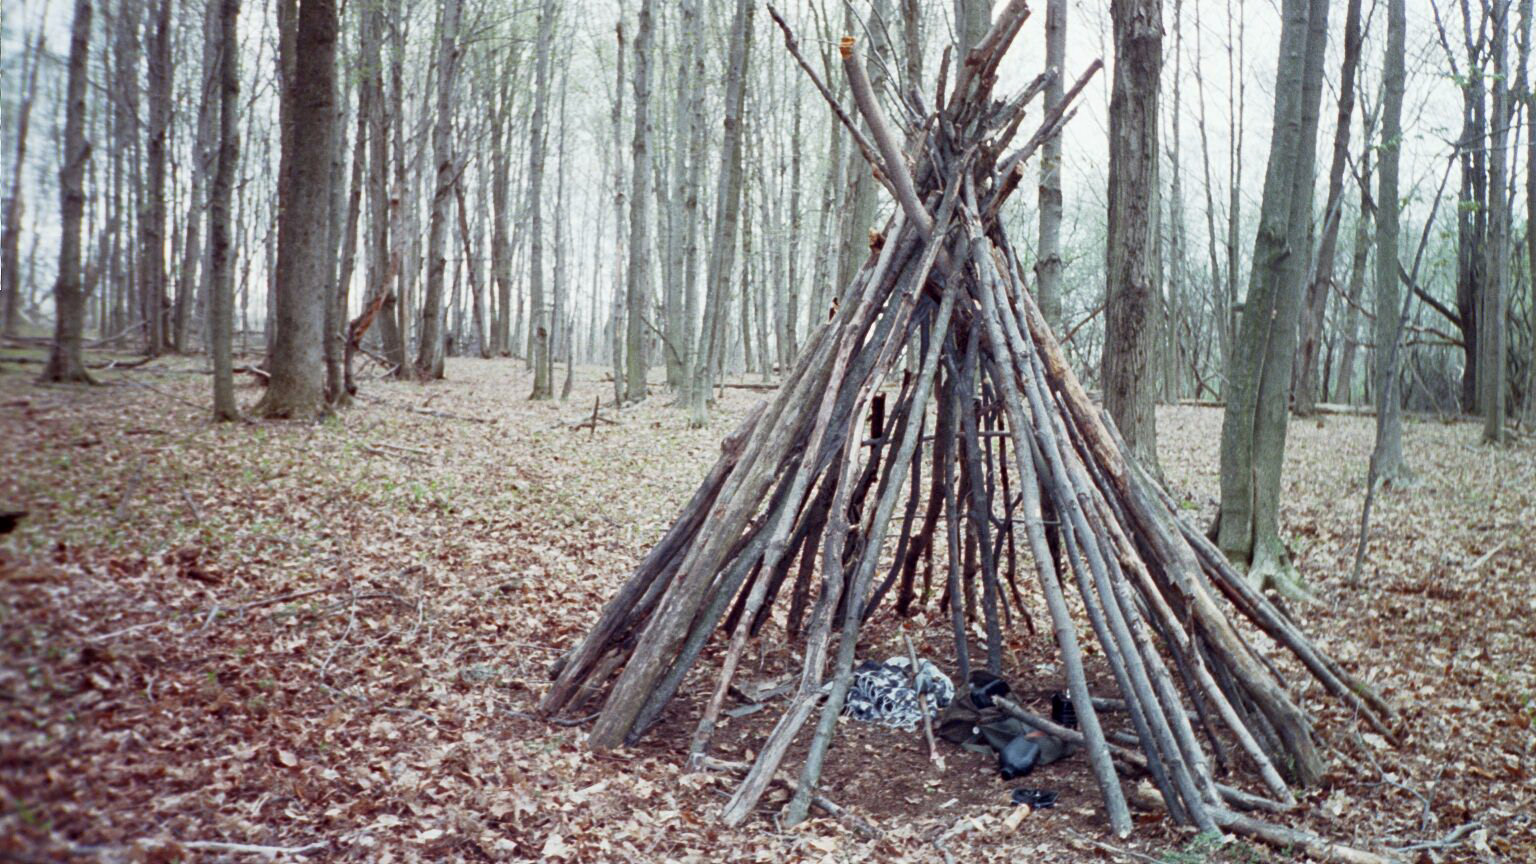
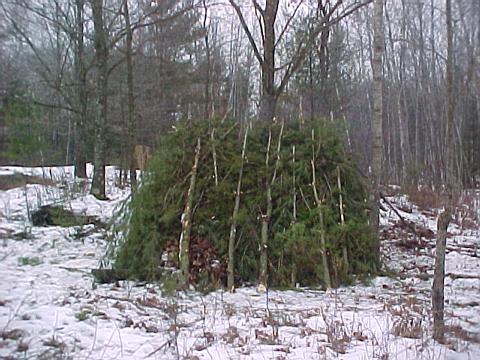
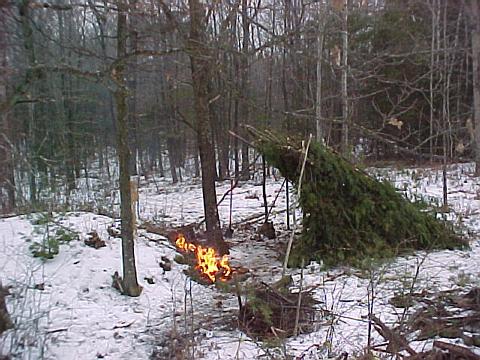
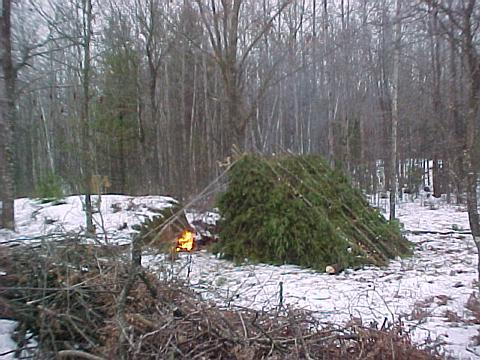
Here is a shelter called a Wickiup I built but did not
finish:

Here are some pics of a good Leant type shelter provided
by Chaos from the "Primitive" Yahoo Group
the lean-to is set up at "Eagle Rock"
Tarp Shelters
Needed Materials:
* Polypro, Nylon or
Canvas Tarp: At least 8x10 with good solid grommets
* Rope or Cordage: 100 ft of 550 Paracord works
well
* Two Trees or other similar items
Hatchet, Machete or Survival knife for cutting stakes
(or you can bring plastic or metal tent stakes)
|
The Advantages of tarp shelters
are three fold:
1) They are extremely
lightweight
2) They can be erected in a very
short time
3) They are very effective at
keeping out the weather if erected correctly
Many Ultralight backpackers and
Primitive campers utilize a simple tarp for shelter. This is by
far the lightest and fastest (if not the most secure) shelter
system you can carry with you.
To begin
erecting your tarp shelter, start by picking a comforable area
between two trees, this area should be relatively free of odd
stubs and tree roots as would any campsite.
Then run a line between the two trees at about hip level (3 to 4
feet) between the two trees. Be sure this line is TIGHT
and remains so. Use whatever knots you deem necessary to
maintain the tightness. Next you should suspend your tarp from
the line being sure that is evenly spaced across either
the long axis or the wide axis of the tarp. Tie lines at least
three feet long to each grommet and steak the tarp out. This
will form a tent-like structure that is very effective in
keeping out the majority of temporate (non winter) weather. In
the winter time, this shelter can be modified by adding debris
such as leaves or pine neadles inside to help insulate the
shelter. The addition of a decent survival blanket to this
debris will make this shelter warm if not large. I will add that
this is not, by any stretch of the imagination, the best cold
weather shelter system. However, for spring, summer and fall
camping, it serves quite nicely with a decent mummy style
sleeping bag and a sleeping pad. The addition of a bug net which
is easily suspended from the ridge line of the shelter makes
this a perfect shelter for a quick camp!
Shelter Tips

Or you can weave flexible green limbs between the crossbeam,
the support beam and each other, this makes a particularly
strong roof and saves on cordage as well

Shelter
Choices & Materials
Shelter materials come in 3 categories:
1) Structural: Materials in this category are are such
things as large saplings, logs rocks, anything that holds
weight. In a survival situation, it should be something that
is easily procurable and strong enough to withstand the weight
of the other shelter materials listed below.
Saplings and large limbs being the structural material used
in the majority of shelters , I will concentrate on them
The choices you make in this stage of the shelter building
process will dictate what type and what size of shelter you
build. Keep in mind that bigger is not always better. A small
tight shelter is easier to keep warm via body heat than a
larger more airy shelter type.
2) Weather Resistant: This category can contain anything
from plastic tarps to pine bows and bark to the shingles on
your house. Like shingles, the materials in this category must
be able to keep the wind and water out of a shelter and
consequently keep you dry and warm. Good examples of natural
shelter materials are woven pine bows, thickly piled leaves,
reeds, cattail stalks and grass thatch. Your materials choices
will obviously depend on your environment.
Note: because I lack the experience necessary to advise about
tropical, desert or plains environments, my recommendations
will be centered on survival shelter for a temperate
environment in either a deciduous or coniferous forest.
3) Insulation: this is the final phase of the shelter. Like
the blankets on your bed, Insulation keeps your body heat
where it belongs, in your body. select insulation that is
prominent in your area. Some ideas might be pine
needles, cattail fluff, grass or fur. Basically, you can use
any fluffy dry material so long as it is not poisonous
and contains no burs . Burs can create sores that will get
infected; they are also darn uncomfortable!
Once all of the above goals have been achieved , you might
want to take some time and improve your shelter. Perhaps you
might want to make it large enough to have a place to build
primitive tools and store your gear. A work space is great on
rainy days when you are shelter bound and you need to keep
busy.
For more information on Primitive Shelters, head to the
Hoods Woods web site and order volume 2 of the Woodsmaster
Series where Ron takes you into the wilderness and teaches you
many valuable lessons unable to be tought with the written
word. Trust me, you will thank yourself!
WINTER SHELTER PRIORITIES
By Dave Seelman
Winter Survival
Many survival rules apply across the board to everyone.
I would like to talk about survival in the winter. The
cold completely changes your priorities. You can die
from it in as little as three hours. That makes it a top
priority around here. Whether you are in a house with no
heat or lost in the woods, your number one priority needs to
be shelter.
There are many layers of shelter to be considered. Your
first layer of defense is your clothing. You need to be
able to keep in your body heat while getting rid of excess
moisture. Cotton clothing will not do this for
you. Cotton will absorb moisture and leave you cold and
wet. The best way to control your body temperature is
with layers of clothing. Start with a base layer made of
a breathable material such as polypropylene. This will
wick up any sweat and it will evaporate away from you.
Be aware that polypropylene will melt if it gets near an open
flame or high heat. Next comes an insulative
layer. Wool retains between 80 and 90 percent of its
insulative properties when it is soaking wet. Some
synthetic materials may also be suitable for this as
well. Finally, a shell to keep you dry and to break the
wind. I personally prefer Gor-tex for this. It is
available in the military surplus market as well as the
sporting goods market. With these layers you should be
able to last a while on foot.
Your next priority should be heat. In the wilderness,
this usually means fire. In your home this may be your
only option if there is no electricity. You need to be
able to start a fire and sustain it. This will require
fuel and an ignition source. These are simple things you
can carry all the time. For example, you can carry a
cigarette lighter for ignition and a piece of cloth or cotton
for a starter fuel. In wet conditions sustaining a fire
can be a real challenge. You may have to start small and
as your fuel wood dries work your way up to a good fire.
You want to establish coals at the bottom to keep the fire
alive through the night. You must also be mindful of
your exhaust. Carbon Monoxide WILL kill you. Make
sure your smoke has a place to go.
The final priority should be a shelter from the elements such
as snow, rain, and wind. If you are in a building
already than this is already accomplished. If you are in
the wilderness, you may have limited options. Look for a
natural shelter such as a cave or underneath a tree.
Avoid hazards like trees that are fallen. They call them
widow-makers for a reason. If you can’t find anything
already constructed, try to burrow in the snow or under a pine
tree if it is available. You need to insulate yourself
from the ground or it will suck the heat right out of
you. Make a platform from whatever material you have to
keep you off the ground. If you are seeking rescue then
you need to make yourself visible outside of your
shelter. Hang a brightly colored piece of material above
you. If you can, make a large X on the ground for
over-passing aircraft. Three fires in a triangle shape
is also a sign of distress.
When you are done with your shelter you can concentrate on
other priorities. Food isn’t very important in the short
term because you can last quite a while without it. You
will need water next. Melting snow is a very slow method
of obtaining water but it may be necessary. If you get
water from a stream or other source, make sure to boil it
before drinking to avoid illness. The last thing you
need is to be sick in this situation. You need to keep
hydrated to keep your body temperature up.
I hope this has been informative to you. Keep alive and
keep safe.
'Dave
I hope this little page helps you in your shelter
building endeavors, For more information, go to your local
Barns and Noble and
look for some good survival manuals. You can also get great
information be heading on over the Hoods
Woods Web site. Both options will give you great ideas
and information. Remember, though, you can watch every video
and read every book but REAL survival knowledge comes from
practice practice practice!!