Fire Building
Fire building is by far a one of the most important skills an
oudoorsman
can own.(Second only to shelter) With fire, tools can be built, bodys
can
be warmed,water can be made free of harmfull organisms, food can be
cooked
and spirits can be lifted. Fire has been a basic skill for millions of
years and it was only by mastery of fire that man pulled himself
up from animalism. Therefore in any wilderness situation the ability to
make fire on demand is very important.
Sparking Tools
Building a fire usually requires some basic tools, some of which
I will describe here. I will leave out such things as fire by friction
until a suitable bow drill set can be procured for photography. Here
you
will find fire building tools available on the open market and are most
likly to be carryed by a primitive camper or trekker.
Here I will deal specifically with spark based fire making as it
is most pertnant to the primitve style of camping and survival. Note:
the steps in building a fire do not change between matches ,
lighters
etc. and spark based methods.
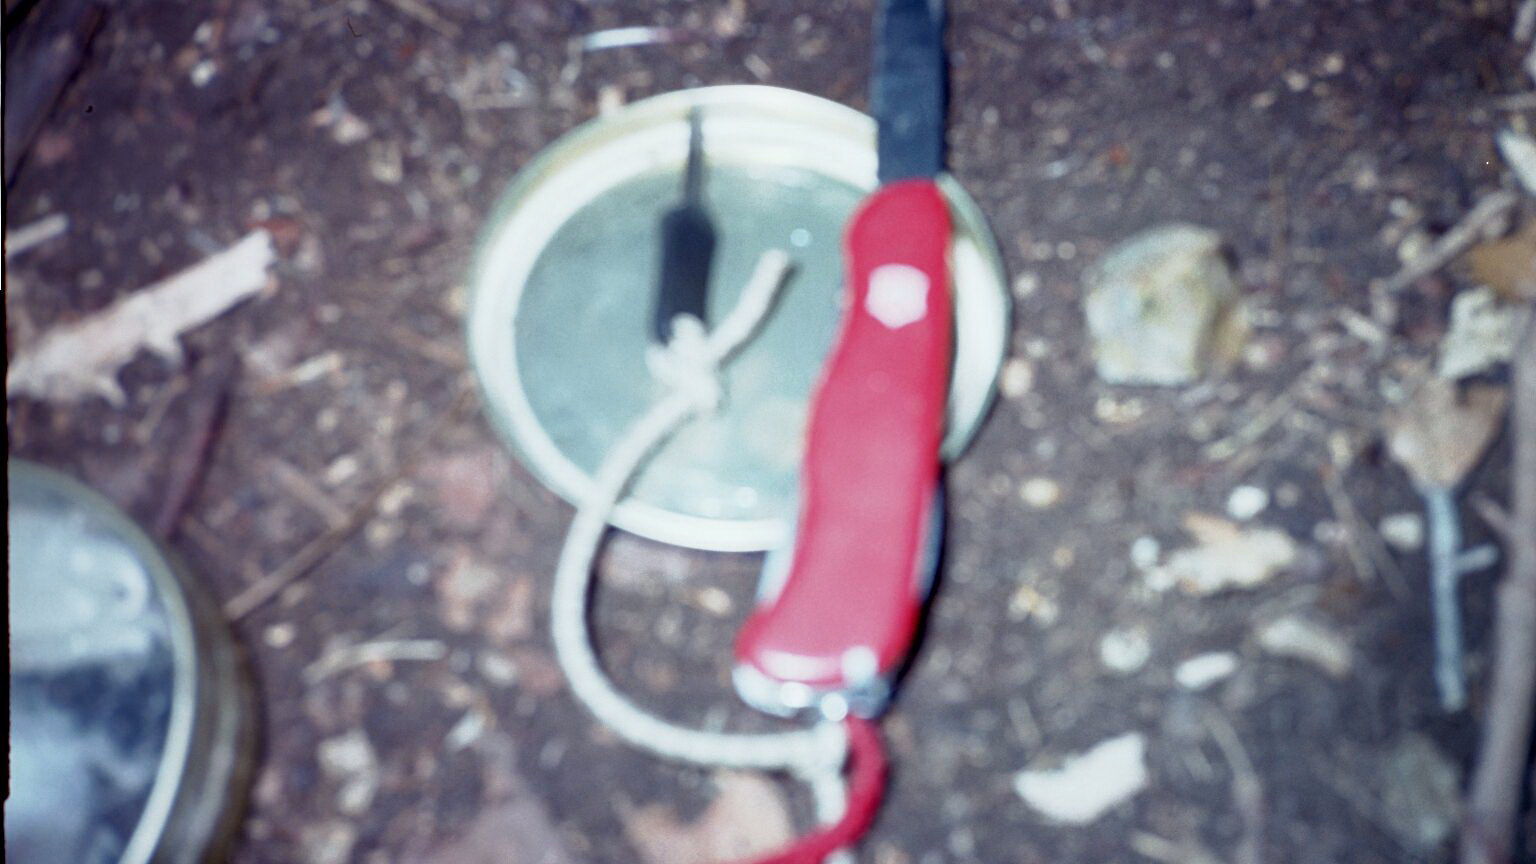
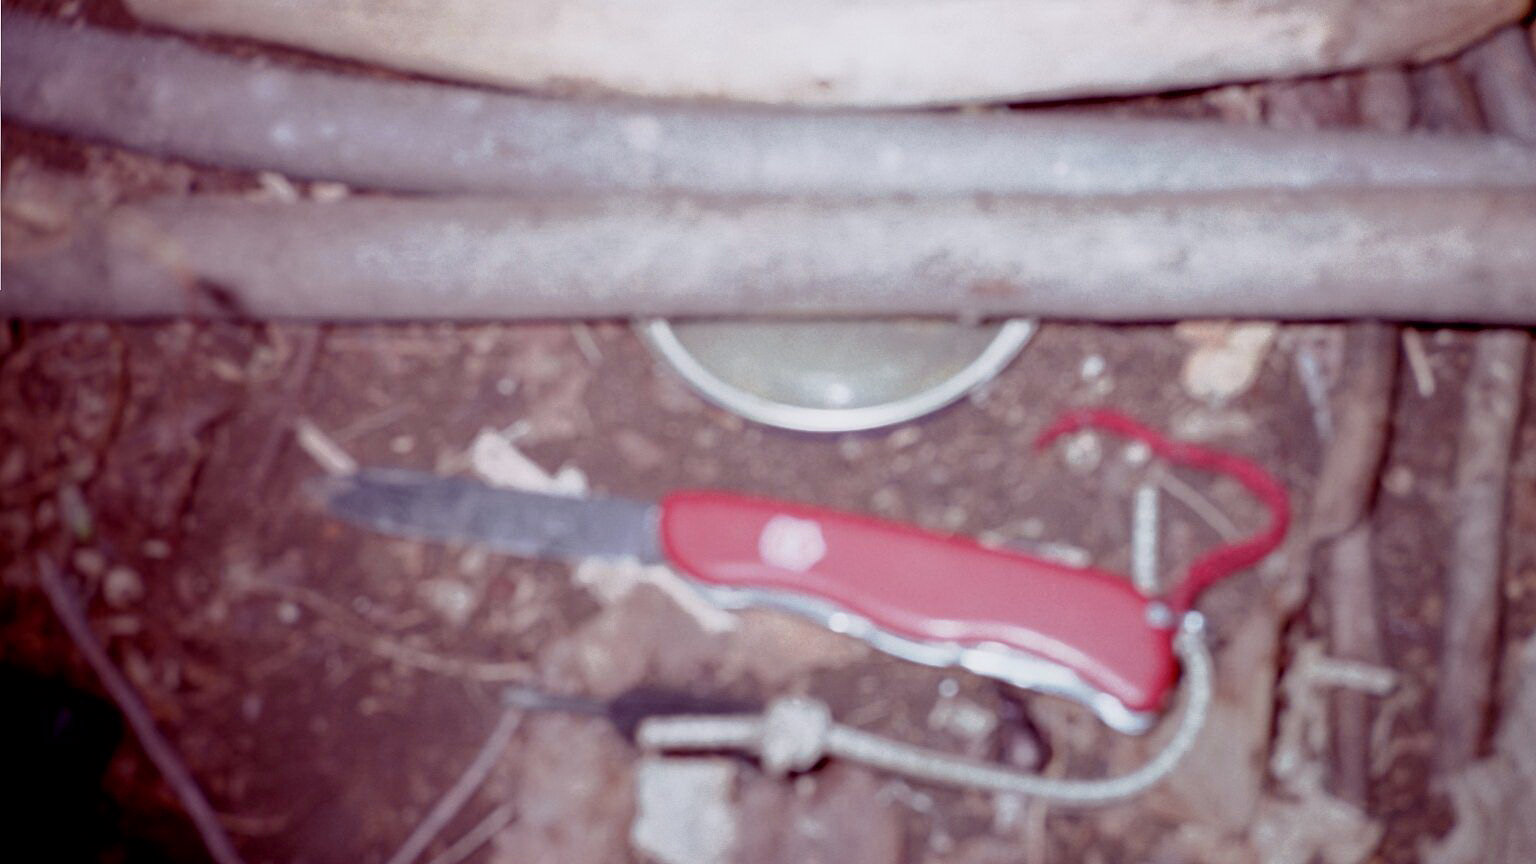
This is a flint and Steel kit. Flint and Steel is what most
people
think of when they think about spark based fire making. Flint and steel
requires that you hold the flint (The little blond stone) and strike
smartly
with the striker(The "D" shaped metal thing) which produces sparks
wich,
when caught in sufficiantly dry tinder, will be blown into flame.
|
(Please excuse the blurry picture)What you see here is the
SAK Rucksack
and the BSA Hot Spark(R). The Hot Spark is one of many types of
sparking
tools out on the market. Like flint and steel, the Hot Spark fires a
spark
that can be blown into flame, the difference being that the hot spark
is
merely scraped with a knife blade and it showers the tinder with
sparks.
This gives a much better chance of the tinder being blown into flame
|
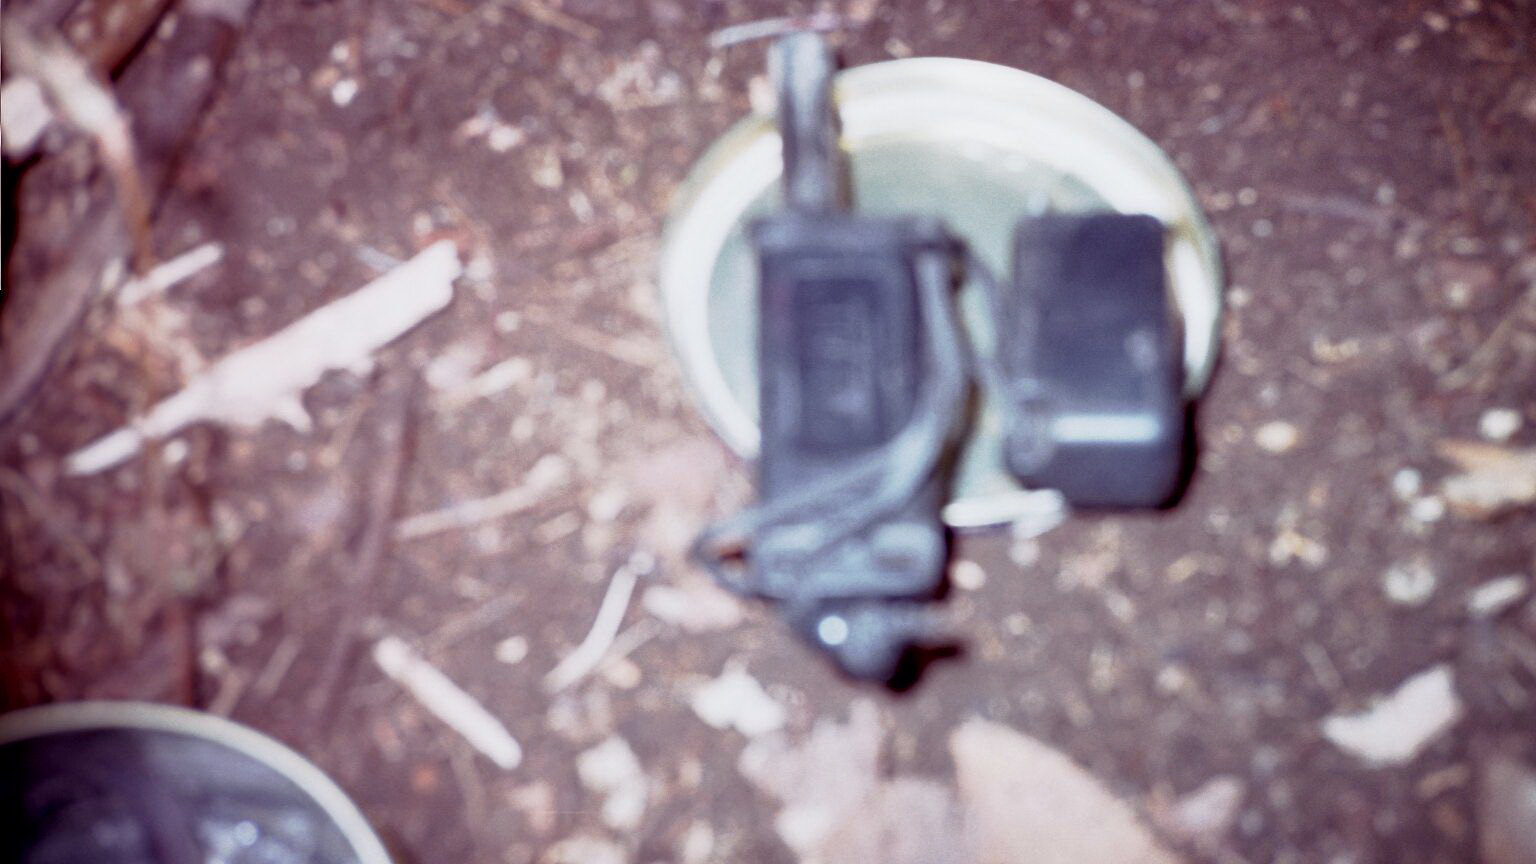
This is the Gerber Fire Storm(R), Big Brother to the Hot
Spark.
This is a really good survival firestarter in that it requires nothing
more than what it comes with. The firestorm includes a huge sparking
rod
and its own striker. (So you dont have to mess up your knife blade!)
It also has a compartment to keep a small amount of tinder in.
The
Fire Storm folds up into a compact package that is easy to carry.
Incidentally
both sides are held togeather with cord so there is no losing pieces.
|

This is a Magnesium Fire Starter(MFS). This tool is one of the
easiest
to find sparking tools on the market. It has been military issue for
years
and is sold on the surplus market all over. Civilian versions also
abound.
The MFS uses the same sparking rod that the others do but this sparking
rod is contained in a block of solid magnesium.
To use this tool, simply scrape off magnesium from the bar
until
you have about a thumbnail (or larger) sized mound in your tinder.
Then,
scrape sparks from the sparking rod into the magnesium pile. The
magnesium
will flare up with a VERY HOT flame and you can add more tinder over
the
top and blow into flame.
|
The Five Steps to
Fire
Building
Building a proper fire takes much care and attention. To achieve
a flame in primitive conditions requires that you use good tinder and
maintain
your fire in such a way that it will continue to burn.
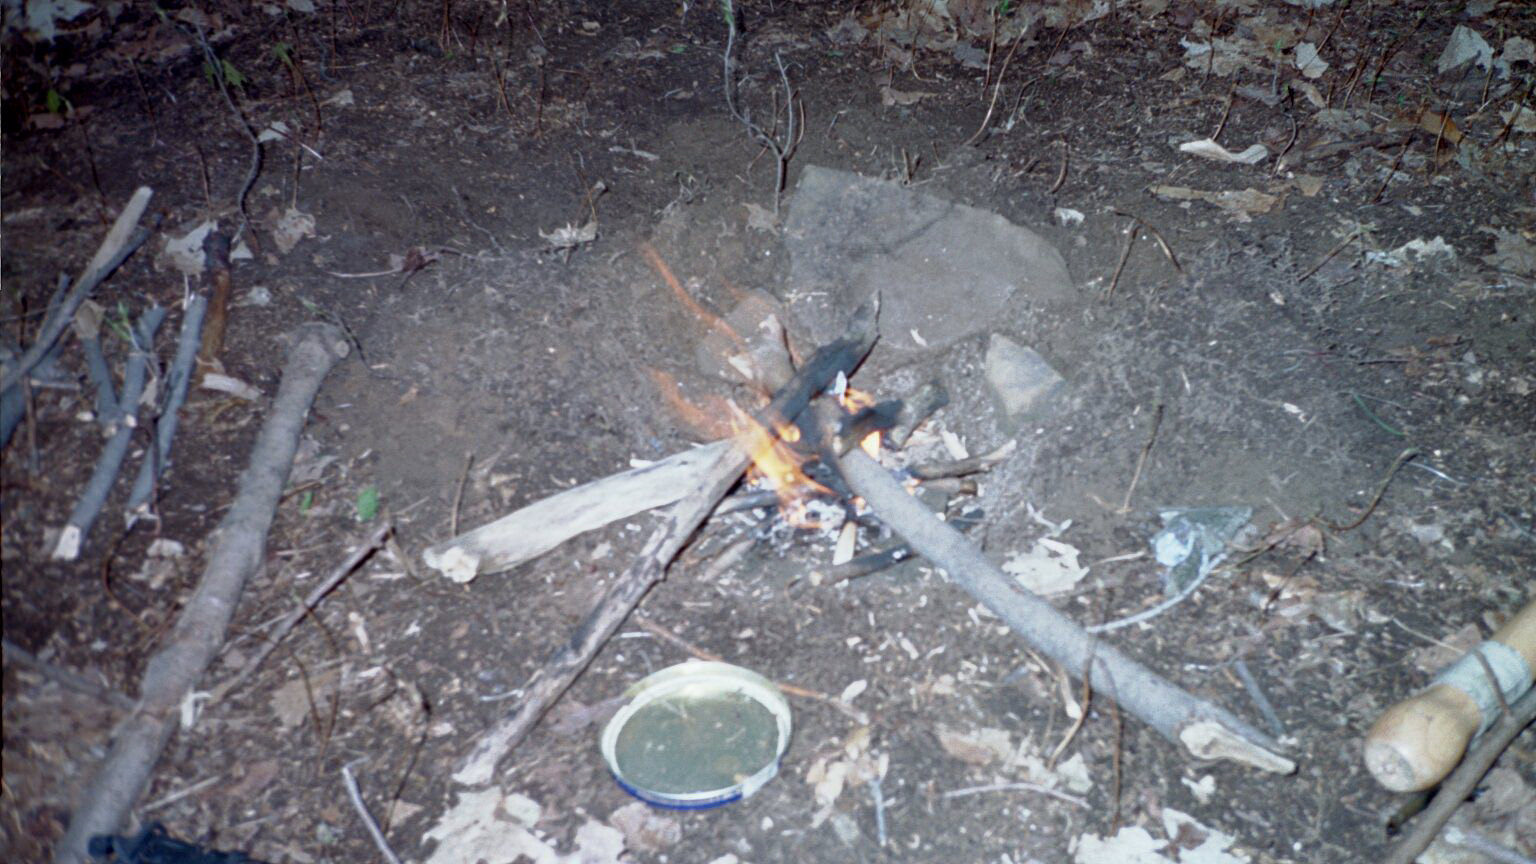
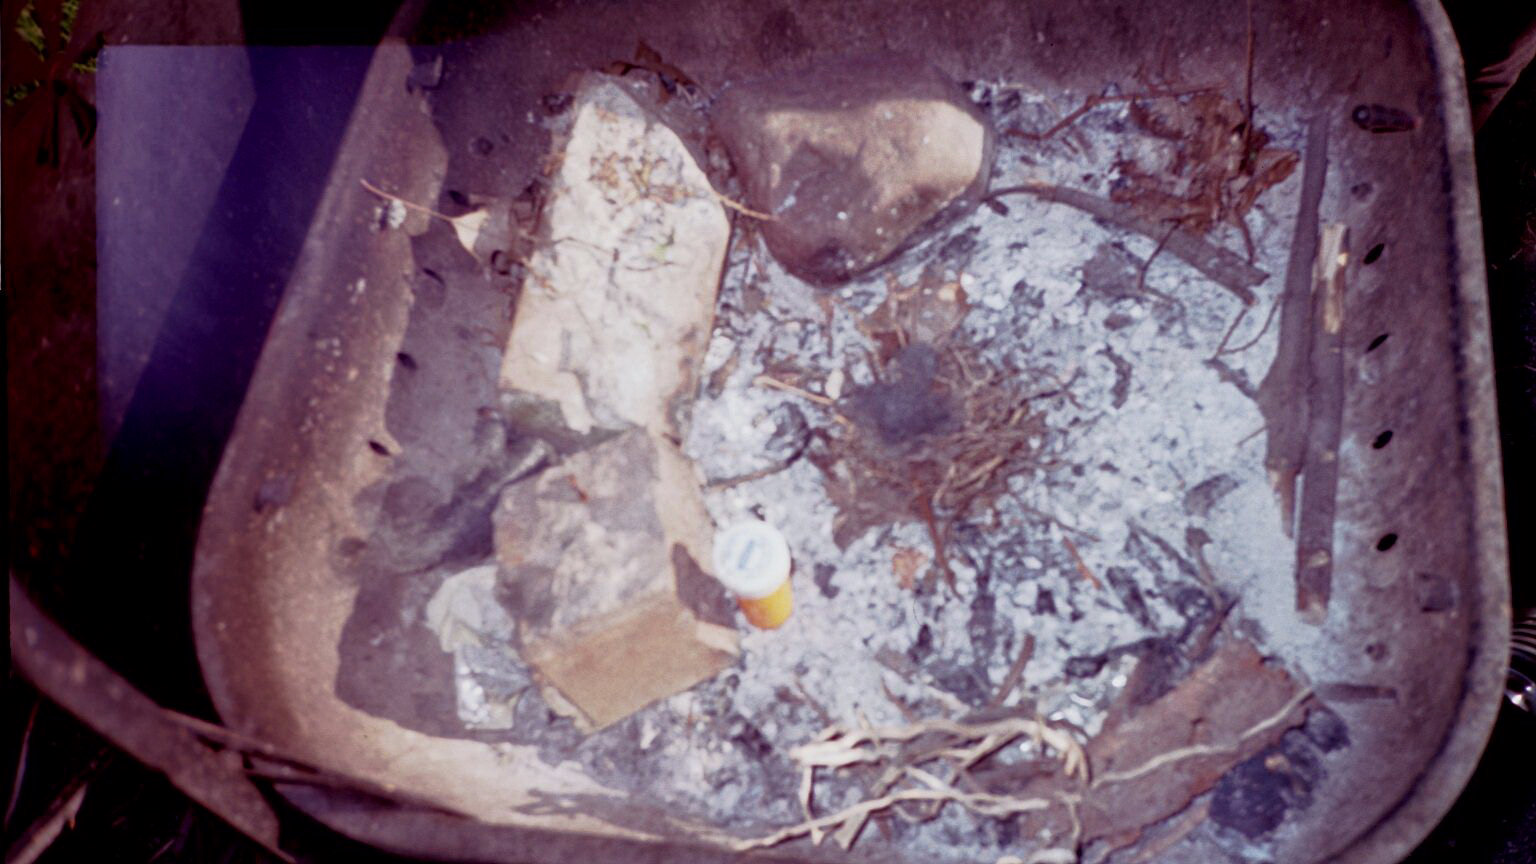
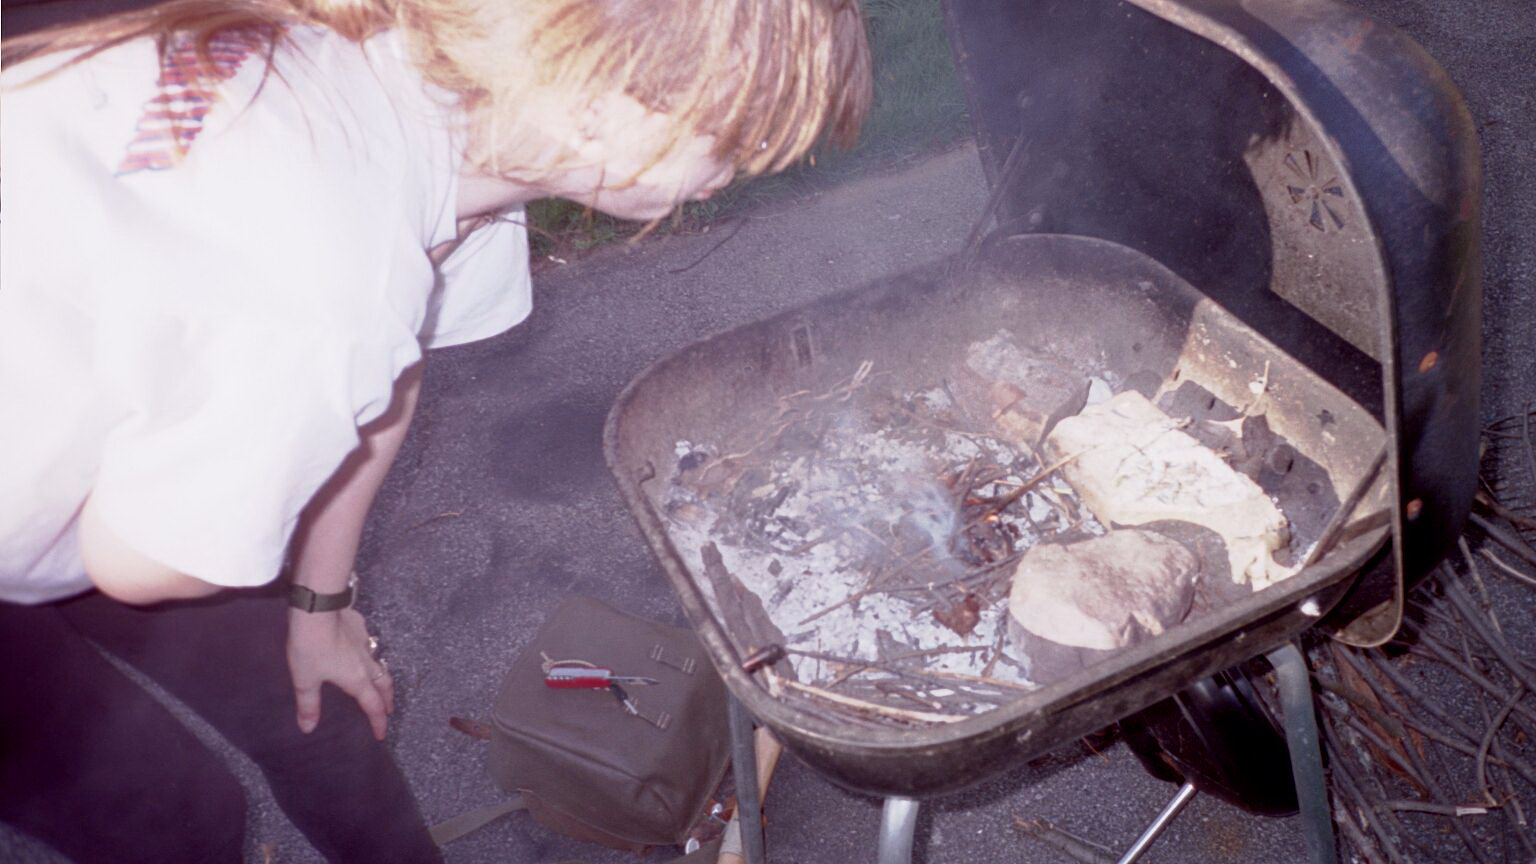
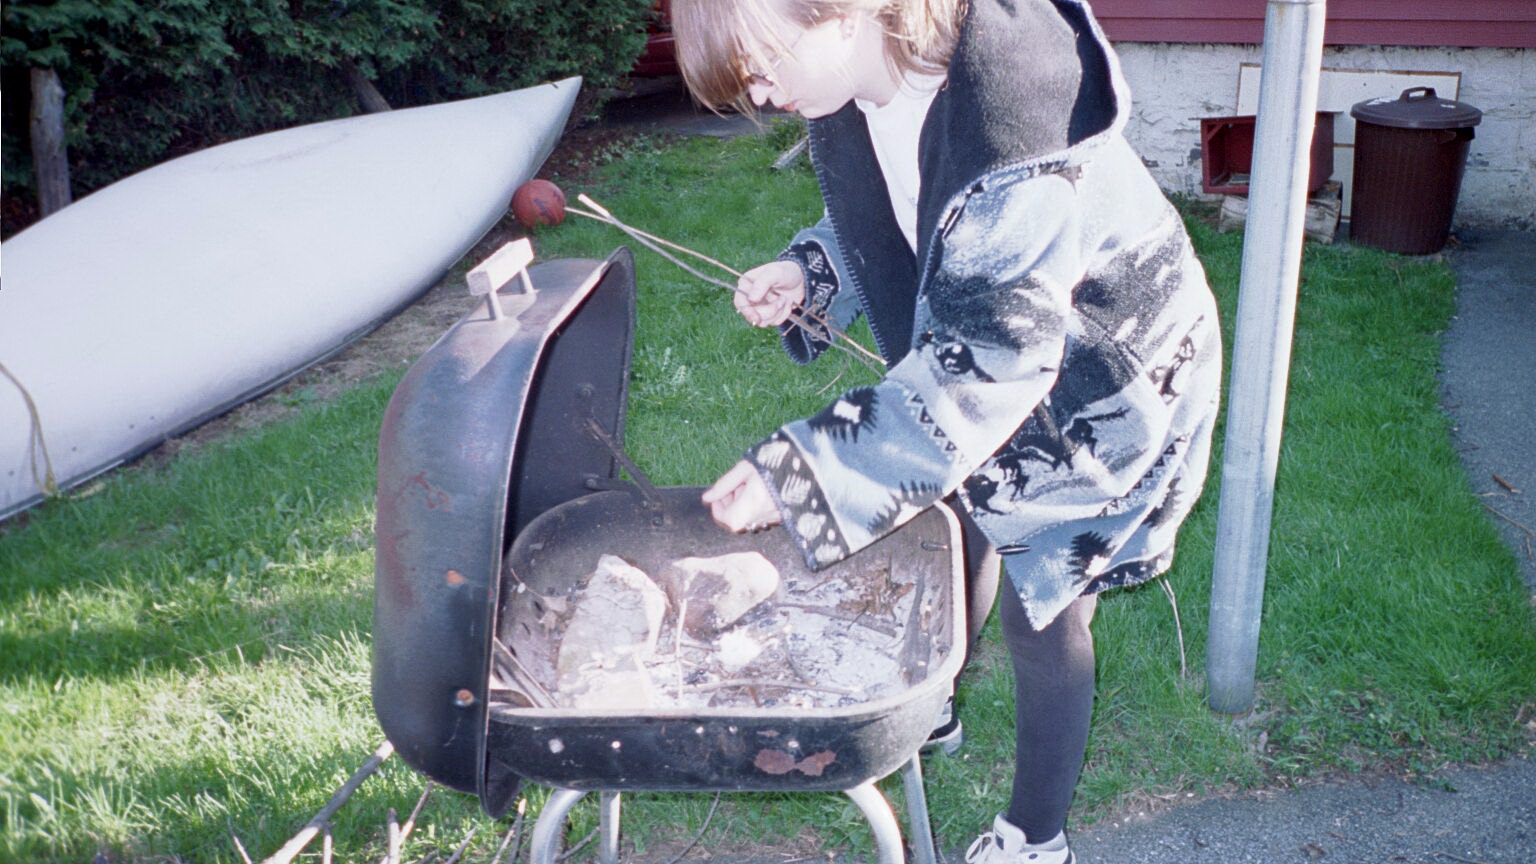
Step 1: Preparing your area:
Selecting a good place to build your fire is very important. Such
conditions as safety, location and setup are important. First thing is
to choose a safe area, one which is free of overhanging dead limbs and
other debres that can catch fire. The next is to clear out the area of
flamable materials. I reccomend a 10 fit area around the fireplace.
next,
build yourself a fire pit. This portion is my take and not everyone
will
agree.
here is my system.
If possible, choose an area with a natural reflector and set your
fire so as to place yourself between the reflector and the fire. Such
things
as old walls, large bolders and sheets of tarp(*1) work well
Dig a square or triangular hole and surround it with rocks (*2),
dirt or green logs.
*1(Remember to keep the tarp well away from the flying sparks,
the
tarp could catch fire!)
*2(If you choose rocks, don't take them from creeks and river
bottoms,
the water in them will boil when heated and will explode sending sharp
fragments flying in all directions. Some of which can impact a person
resulting
in death or serious injury)
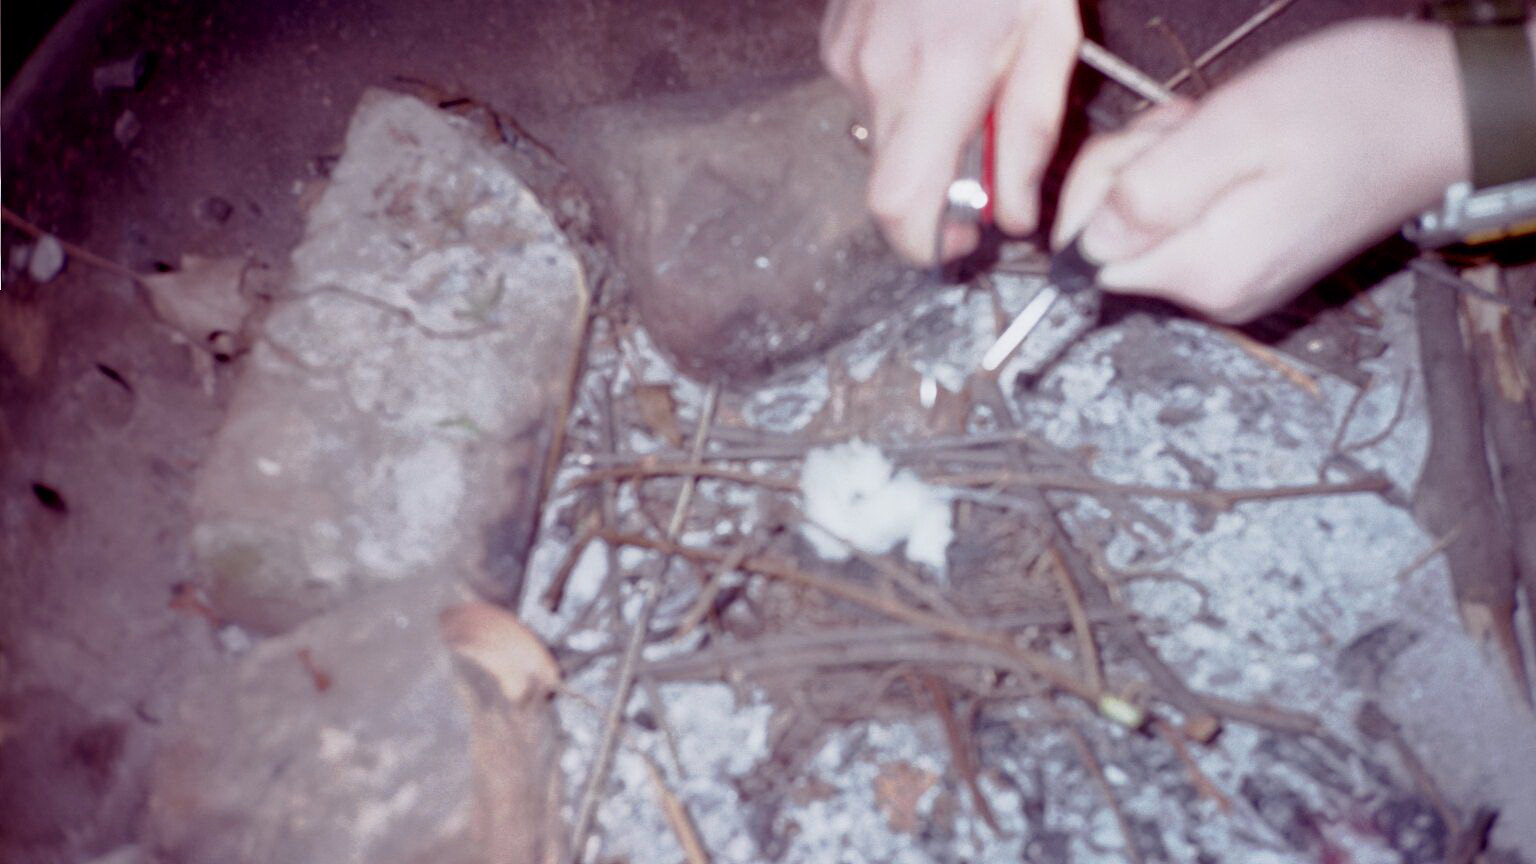
Step 2: tinder
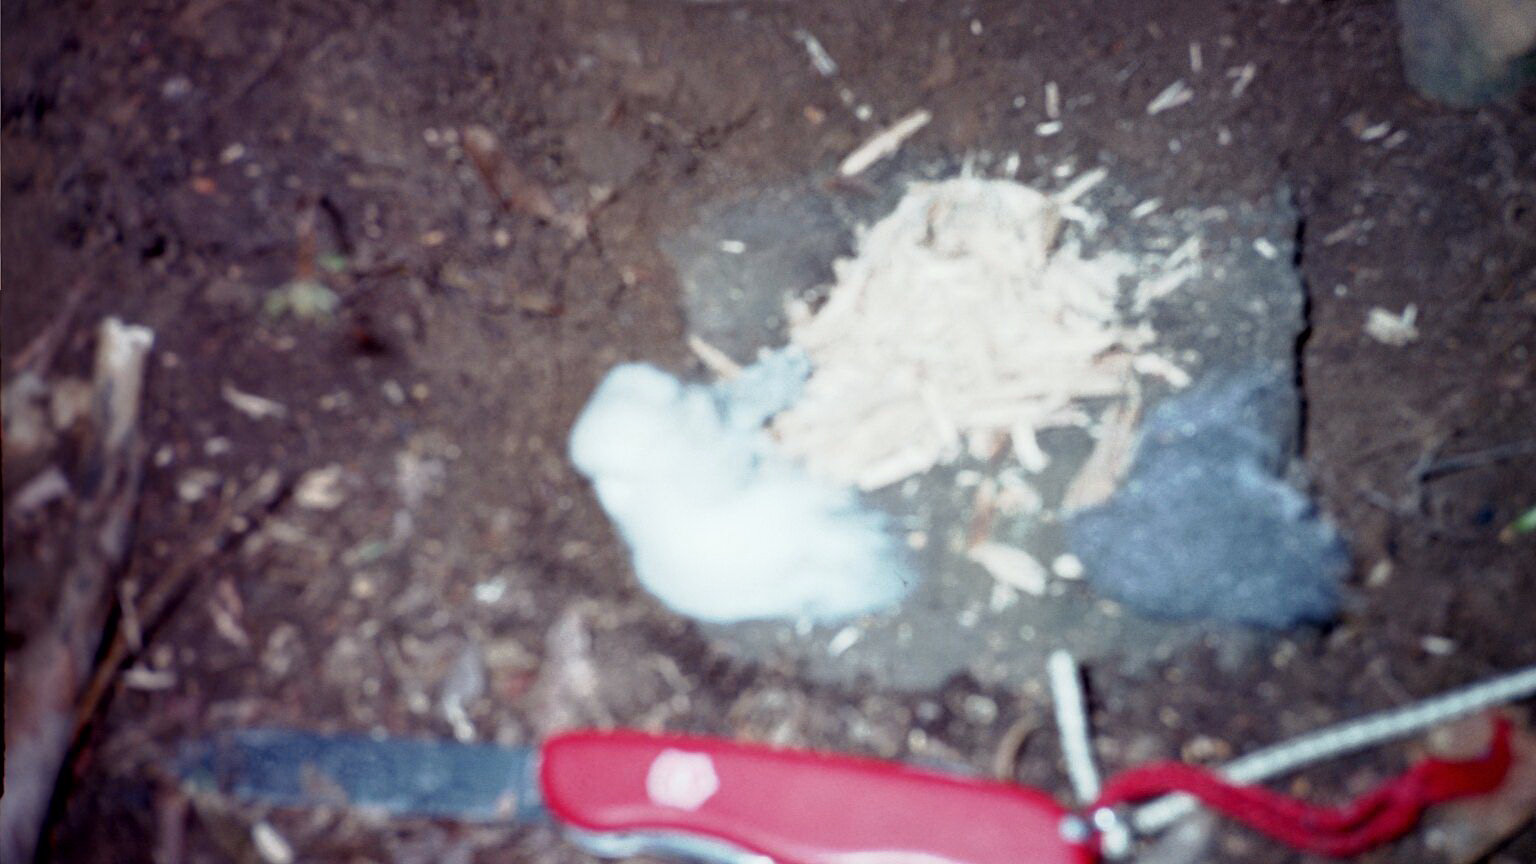
Pic: Left to right: cotton ball, wood shavings,
steel wool
Tinder is the light fluffy stuff that catches a spark.
below is a listing of both natural and not so natural tinder:
0000 steel wool
Cotton balls
Charred Cloth
Charred Grass, cat tail fluff, leaves,
combined with a birdsnest or "The Tinder Taco"
(Note: Instructions for making charcloth and other
tinders
to come!)
Cotton Ball soaked on Petrolium Jelly
birch bark (Peely birch bark, dont strip trees!)
Cattail fluff (Scrape your knife across the brown heads of
cattails and TONS of fluff comes out!)
Charcloth
tissue paper and bathroom tissue
Dryer lint
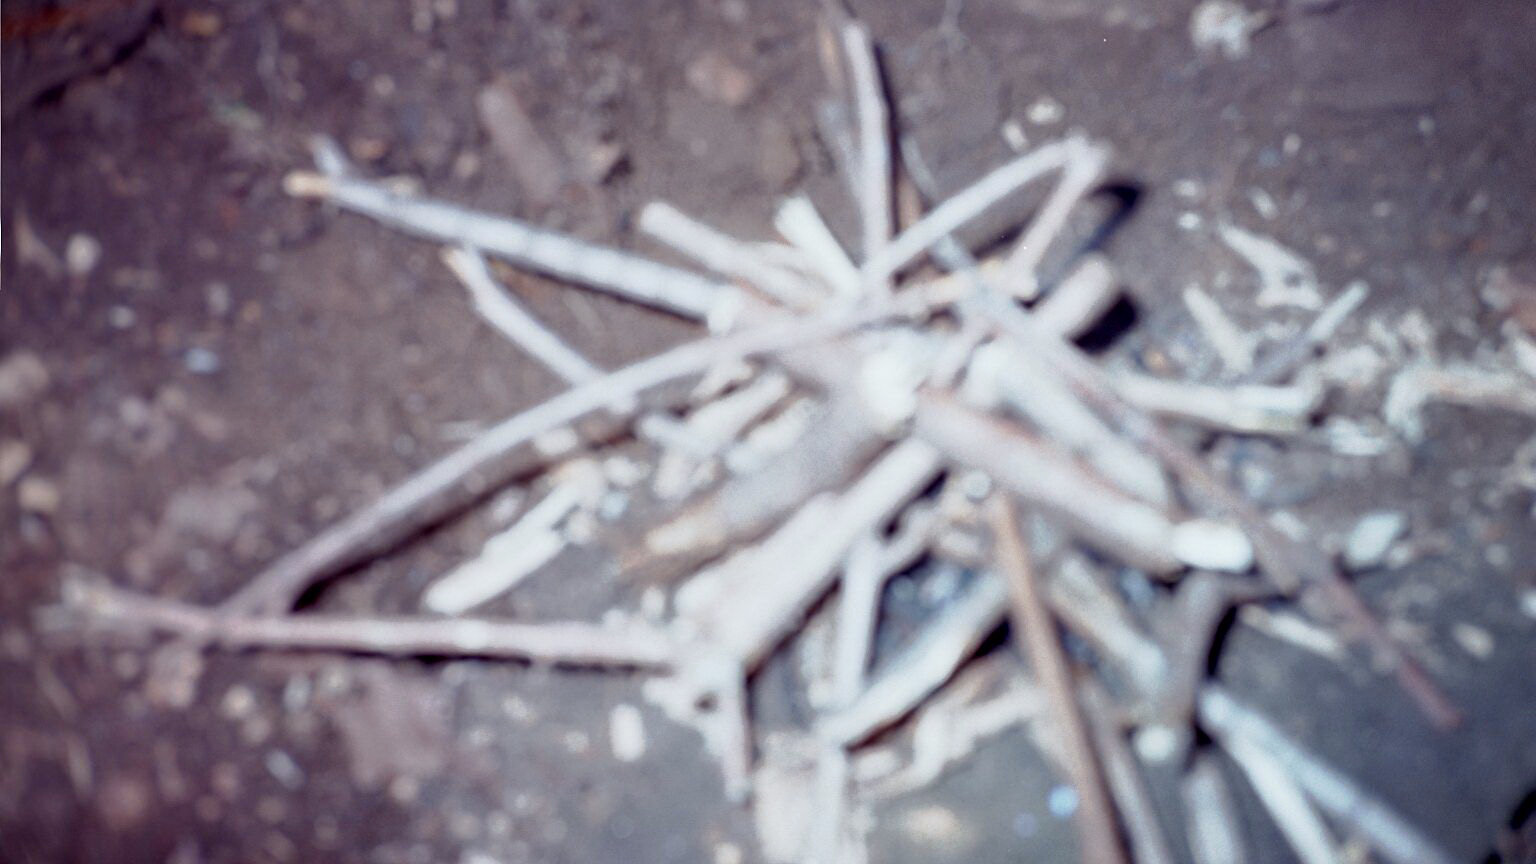
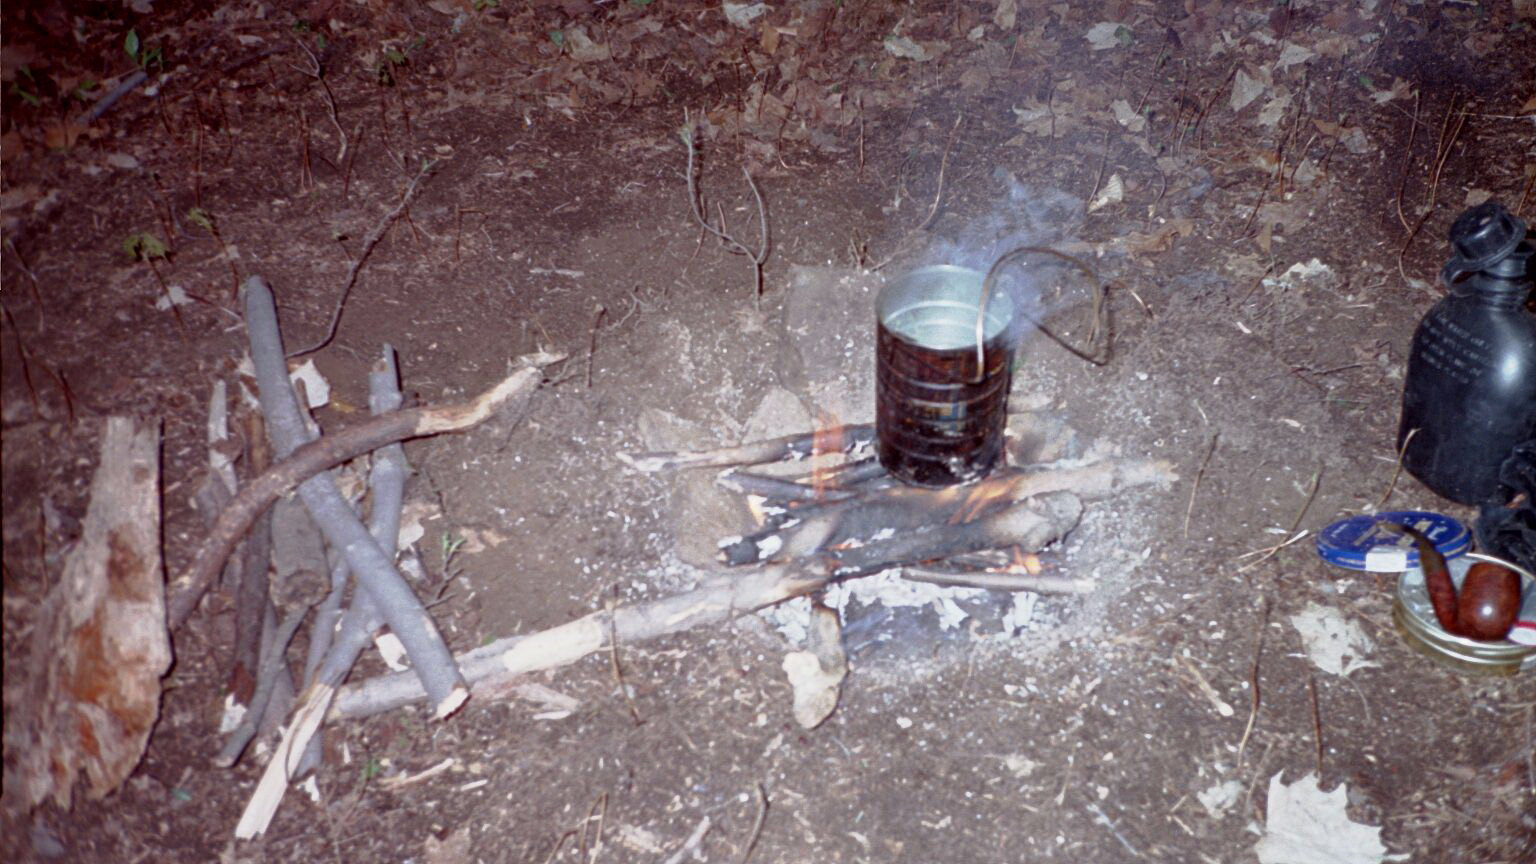
Step 3: Kindling
Kindling is larger than tinder and can be anything from twigs to
pinky finger sized sticks.
Step 4: Squaw Wood
Squaw Wood is smaller limbs easily picked up off the ground.
This is the wood you will use the most of as it is easy to come by and
burns well.
Step 5: Logs
Im not going to waste more space showing you a log, Im sure we all
know what a log looks like.
But a special note should be taken on logs. In a survival situation,
you must conserve energy and the act of chopping a huge log will tire
you
out really fast, even with a good axe or survival knife. In a situation
like that, if you find a downed log, burn an end and then move it up
instead
of chopping it. Logs are good for giving lots of mass to a fire when
getting
ready for bed and when you need a long burning fire. other than
that,
you should stay with squaw wood and some smaller arm sized logs as they
will serve you quite well and not burn up much needed energy, make you
sweat to work on (gets you wet and you lose heat) and will be easier to
put out should you choose to move on.
Striking and Catching
a Spark
(with The Fieldmouse)
The secret to catching a spark and holding it in the tinder is to
build somthing called a birds nest. Basically taking and folding the
tinder
into a bundle that closely resembles a birds nest and then placing the
fluffiest stuff in the middle(Read: the really flamable stuff) .

I usually surround it with twigs and other light kindling so that
it will be close at hand to add to the flame once it starts.
Then take your sparking tool, and strike sparks into the birds nest
until a spark catches
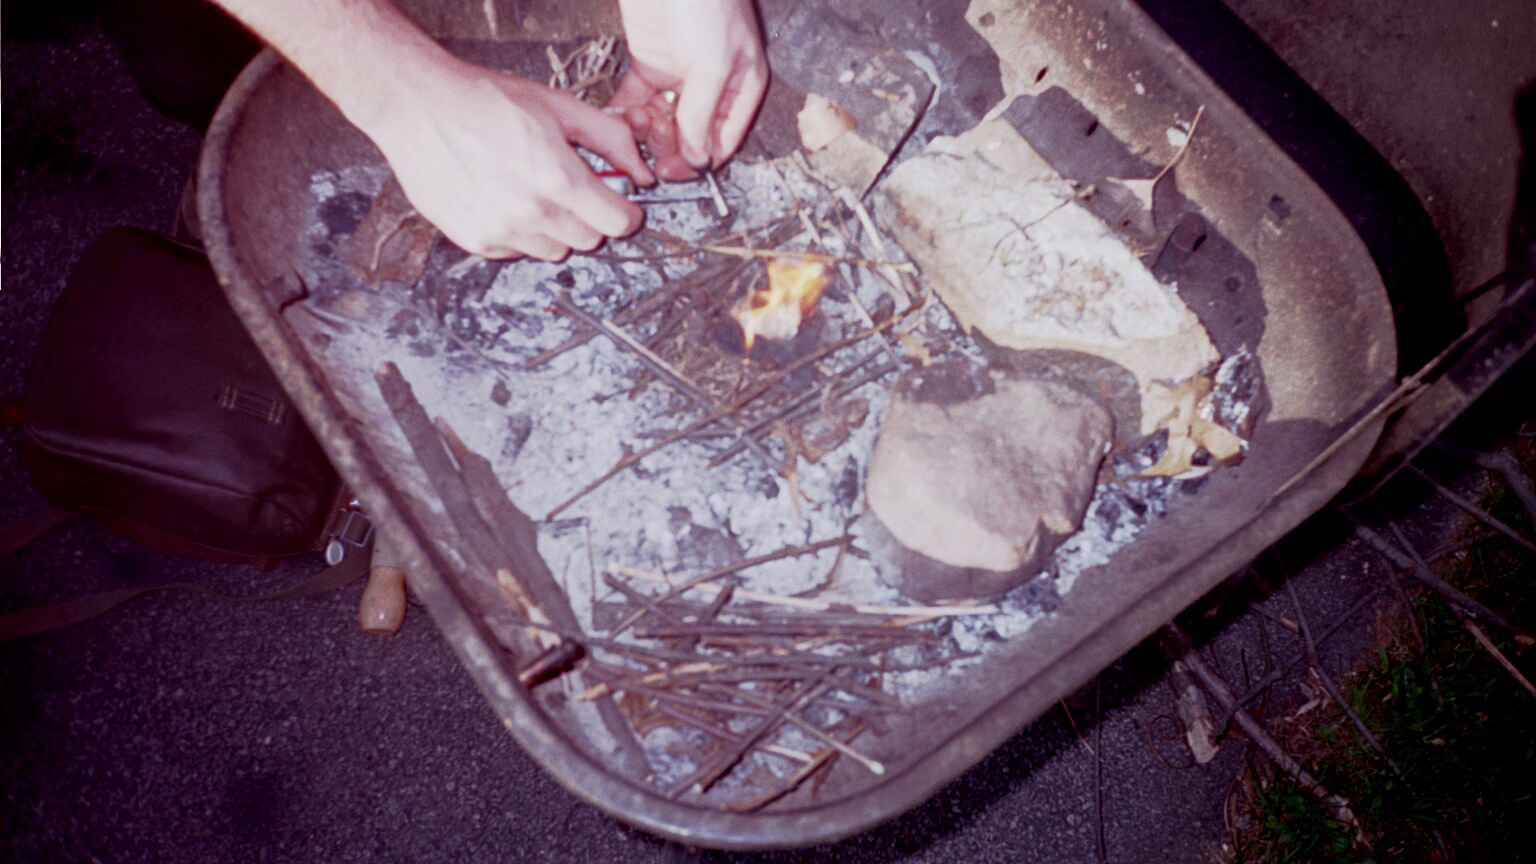
Then gently blow on the tinder untill the flame grows. Once you
have flame, add small twigs and other light kindling
Only add kindling when you have a solid blaze from your tinder and
remember to continue to blow!
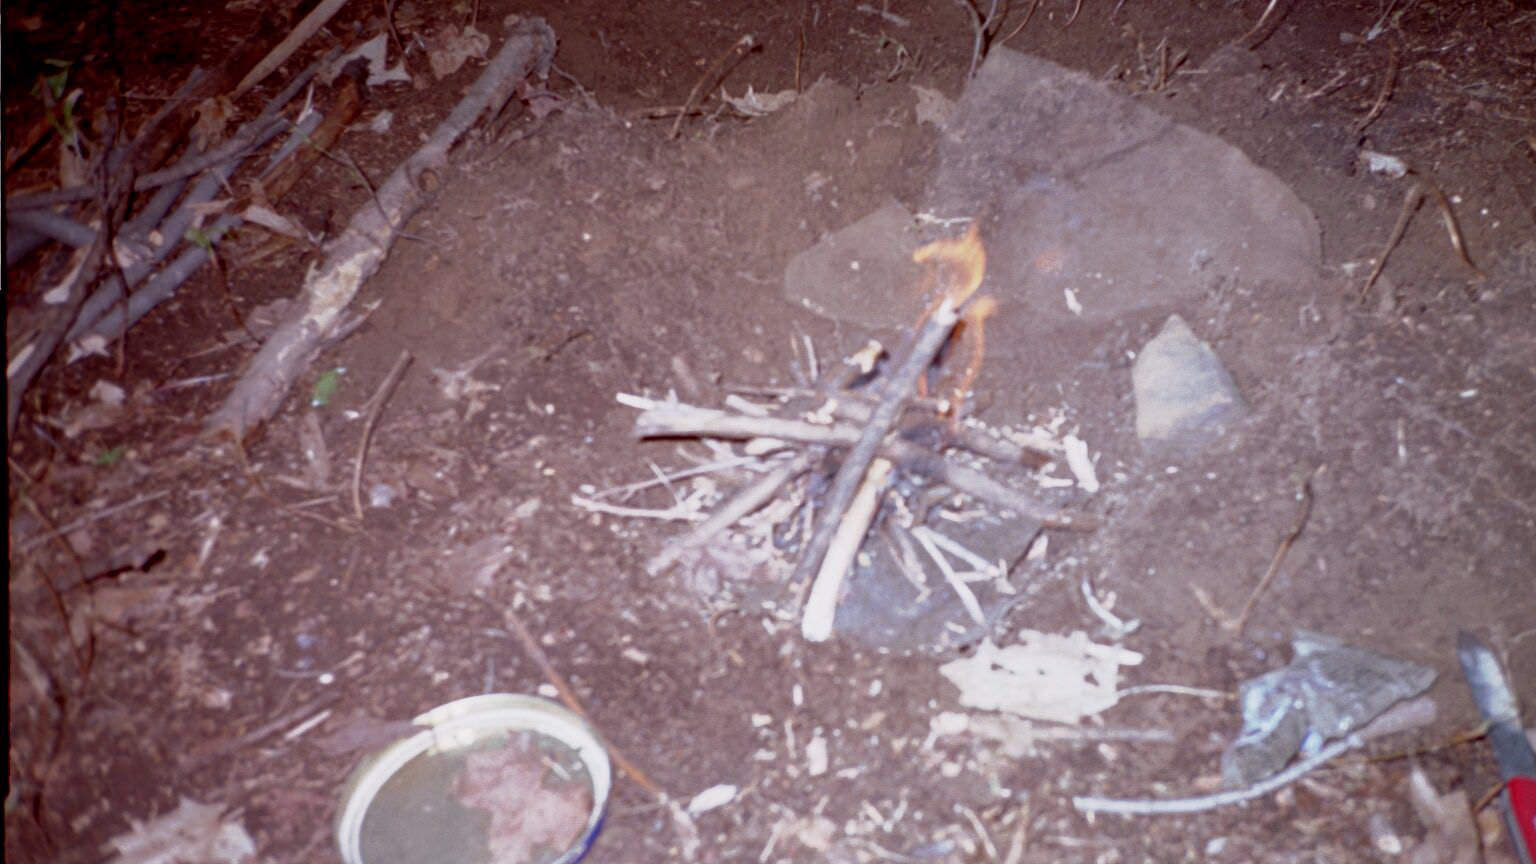
From there, Just add larger and larger peices of wood untill you
have the desired fire
Lighting
a Fire with Flint and SteeL
~.~
Flint
and Steel is one
of the oldest methods of fire building and a standard of primitive
campers and
historical reenactors. It is in fact a very effective and reliable
method of
creating fire when you are prepared with the right materials.
The
tools involved are
the following: a steel striker, flint flake, charcloth and light fluffy
tinder.
In this article we will examine these items and describe their use in
the
process of building your fire.
The
steel striker is a
“D” shaped piece of hardened high carbon steel that is held in the hand
in so
that the long face of the “D” passes over the knuckles. This striker
has been
hardened to a Rockwell of 64 or harder and is designed to present a
flat face
for the flint flake to strike against.
The
Flint Flake is
quite simply a flake of flint sharp enough to cut with if necessary but
for our
purposes it is designed to strike a spark.
A flint and steel kit usually contains a few of these flakes and
they can
be re-sharpened by tapping the dulled edge with the flint striker until
chips
are removed creating a new sharp surface.
Char-cloth
is cloth
that has been charred so as to be almost black in color and can be
quite
fragile. Char-cloth is used to catch the initial spark of the striking
of the
steel striker and flint flake.
Creating
charcloth is
easy. One only needs a sealable tin box such as the type “Altoids”
mints come
in. A hole is punched in the top of the tin and the tin is stuffed full
of
cotton fabric such as old denim jean material or even cotton cording
from an
old mop. The whole affair is then placed in a fire. When placed in the
fire,
smoke will almost immediately start pouring out of the hole. Do not remove from the fire until it stops
smoking and do not open the lid until the box cools.
When
it’s cool, open
the lid and you will find perfectly charred but unburned cloth that
takes and
holds a spark quite nicely.
The
box can now also be
used to hold your steel striker and flint flakes making a very compact
and easy
to carry package.
~Building
the Fireplace~
Building
a fire with flint and steel starts out like any other fire building
endeavor in
that you must begin by preparing the area for fire building.
First you must pick a safe area free of dry
overhanging limbs. Once this spot is found, clear the area of any
flammable
debris in a 10 foot radius and build your fire in the middle of this
cleared
area. The fire pit should be built in a rectangular shape with non
creek stones
(stones from the creek explode!) . Behind your fire you should drive
two 4 foot
long stakes of green wood into the ground and stack green logs against
these to
create your reflector. This stops the
wind and allows the heat from your fire to bounce off the reflector and
move in
your direction.
Once
your fireplace is
created, build a base for your fire out of dry, thumb size sticks. Then
create
a “Birds Nest” of fluffy material such as pine needles, cat tail fluff
and dry
leaves. This is used to catch the spark created by the flint and steel.
The
next step is to
create a conical stand of dry thumb size sticks and stuff the inside of
this
with more fluffy dry stuff along with such fire starting materials as
birch
bark, pine needles and leaves as well as twigs and such.
~Striking
the Spark~
To
start your fire, you must first take a patch of char-cloth from your
tin and
place it on top of your flint flake being sure to expose the edge of
the flake
to the steel. Then, taking your steel striker firmly in your left hand
and the
flint and char-cloth in your right; strike firmly using the steel
striker to
strike against the flint. If done correctly and sharply, sparks will
erupt from
the impact and after a few strikes, you should notice some glowing
patches on
your char-cloth. At this point , blow gently on the spark to make it
spread
through the charcloth and place the charcloth in your birds nest. From here, gently close your birds nest
around the charcloth making a “fire taco”. Continue to blow gently
until flames
begin to lick from the birds nest.
At
this point, you must place your burning “taco” under your fire set and
blow on
it until the flame take to the tinder. Add larger pieces of wood log
cabin
style around the outside of the fire and then across the top to
complete the fire
building process. Remove your pot from your pack, cut up some meat and
potatoes..add a bit of rice, some salt and you have a nice, cheery camp
complete with a fire you made without matches a lighter or any modern
accelerants. Cheers!
For more information and instruction on fire
building,
Check out Volume 1 of the Woodsmaster series by with Ron Hood of Hoods
Woods !